- Quick Summary
- Step 1: Install and Activate the Custom iFrame Plugin
- Step 2: Add Custom iFrame Block in Page
- Step 3: Embed Content in Custom iFrame
- Step 4: Configure Basic Custom iFrame Settings
- Step 5: Configure Advance Custom iFrame Settings
- Step 6: Configure Custom iFrame Style Settings
- Step 7: Configure the Advanced Settings
- Conclusion
Embedding external content is a common need in WordPress. Videos, audio players, dashboards, maps, documents, or even full web pages.
This is where iframes come in. An iframe lets you display content from another source directly inside your website, without copying or rebuilding it. It keeps content live, synced, and lightweight.
To embed iframe content easily in WordPress Gutenberg, we’ll use the Custom iFrame plugin.
It gives you a clean block, simple controls, and advanced options when you need them.
Quick Summary
How do you embed content in WordPress Gutenberg using Custom iFrame?
1. Install and activate the Custom iFrame plugin.
2. Open or edit a page in the WordPress Block Editor (Gutenberg).
3. Search for the Custom iFrame block and add it to the editor.
4. Into the Source URL field, paste your video, audio, webpage, Google tool, or any external URL.
5. Adjust available settings based on your needs.
6. Save or publish the page.
Your embedded content is now live on your WordPress site.
Below, we’ll cover each step using the Custom iFrame block in Gutenberg and explain all available options one by one. This will help you embed content correctly and fine-tune it based on your needs.
Step 1: Install and Activate the Custom iFrame Plugin
To get started, you need to install and activate Custom iFrame plugin.
Here’s the simple way:
- Go to your WordPress dashboard.
- Navigate to Plugins → Add New.
- In the search bar, type ‘Custom iFrame by Coderz Studio‘ and hit the enter.
- Click Install Now, then click Activate.
Once activated, the Custom iFrame block becomes available in Gutenberg.
Step 2: Add Custom iFrame Block in Page
- Click Add New or edit an existing page. Make sure you are using the Block Editor (Gutenberg)
- Click the ➕ Add Block button
- Search for Custom iFrame → Select the Custom iFrame block
- The block will appear in the editor area

This block replaces the need for manual iframe code.
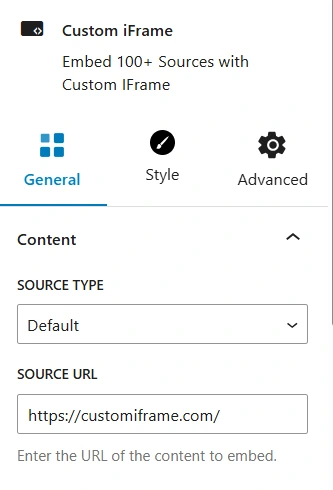
Step 3: Embed Content in Custom iFrame
- Select the source type as per your content (Default | PDF | X | Youtuve | Vimeo )
- In the Source URL field, paste your content URL.
As soon as you add the URL, the content loads inside the block.
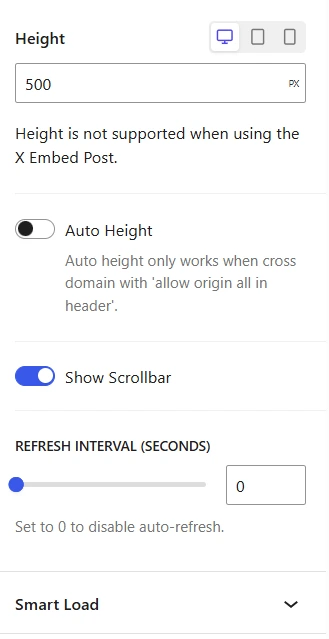
Step 4: Configure Basic Custom iFrame Settings
Once the source URL is added, you can adjust the basic iframe settings to match your content and layout.
Height: Set the iframe height based on your content and page design.
Scroll Bar: Enable or disable the scrollbar inside the embedded content as needed.
Refresh Interval (Seconds): Define how often the iframe should refresh. This is useful for content that updates in real time, such as dashboards or live data.
Smart Load: Enable lazy loading to improve performance. The iframe will load only when it enters the user’s viewport.
Step 5: Configure Advance Custom iFrame Settings
Advanced settings help you control branding and presentation of your embedded content. These options are especially useful for client work, demos, and shared content.
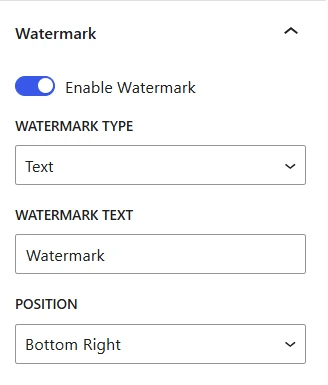
Watermark
The Watermark feature lets you add branding on top of the embedded iframe.
How to set it up:
- Enable Watermark
- Choose Text or Image
- Enter your brand text or upload a logo
- Select the watermark position
- Adjust styling options if needed
The watermark appears over the iframe and does not change the original content.
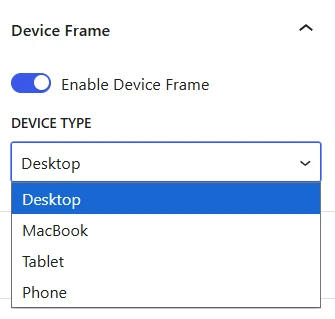
Device Frame
The Device Frame option displays your embedded content inside a device mockup.
How to set it up:
- Enable Device Frame
- Choose the device type (desktop, tablet, or mobile)
- Adjust the frame size if required
This helps users understand how the content looks on different devices.
These advanced settings give you more control over how your embedded content looks and feels. Use them when you want better branding, presentation, or clarity.
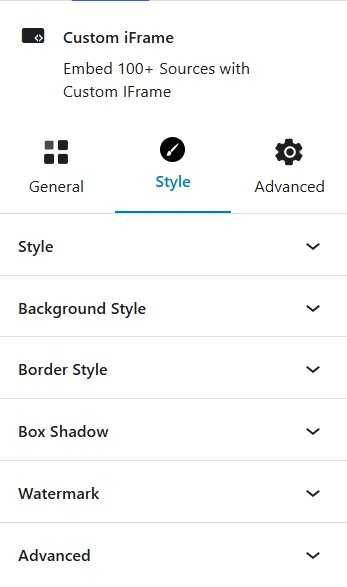
Step 6: Configure Custom iFrame Style Settings
Use the Style settings to control spacing, alignment, and visual design of your iframe.
Padding: Control the space between the iframe and its container using px, em, or %. Enable Link Values to apply the same padding on all sides at once.
Alignment: Align the iframe to the left, center, or right based on your page layout.
Width: Set the iframe width using px, %, or vw to control how it behaves across different screen sizes.
Border: Customize the iframe border by selecting a style, adjusting width, choosing a color, and adding rounded corners with border radius.
Box Shadow: Add depth to your iframe with shadow effects. Adjust color, position, blur, spread, and choose between outline or inset shadows.
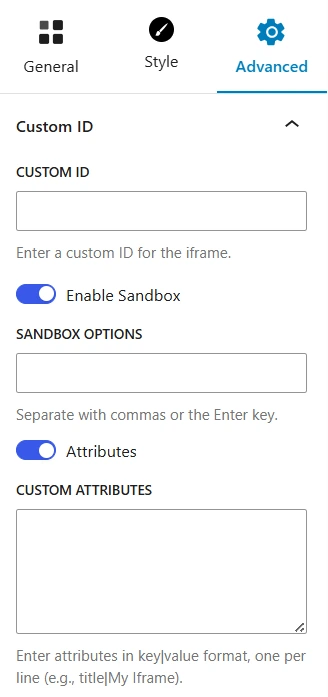
Step 7: Configure the Advanced Settings
Advanced settings give you more control over iframe behavior, security, and customization.
Custom ID: Add a unique ID to your iframe. This is useful for custom styling, tracking, or targeting the iframe with scripts.
Enable Sandbox: Enable sandbox mode to restrict what the embedded content can do. This helps improve security when embedding third-party content.
Sandbox Options: Define specific permissions for the sandbox by adding options separated with commas. Allow only what the embedded content actually needs.
Custom Attributes: Add extra iframe attributes using key-value format. This is useful for advanced use cases like accessibility, SEO hints, or custom iframe behavior.
Conclusion
This guide showed you how to use Custom iFrame in WordPress (Gutenberg) to embed external content easily and cleanly.
From adding the Custom iFrame block to configuring performance, branding, advanced security features, and styling.
You now have full control over how content is embedded on your site. Set it up based on your needs and turn simple embeds into structured, well-designed, and professional content blocks.