Table of Contents
With Custom iFrame, you can embed Google Calendar in Elementor easily. Show your availability, share event schedules, or let visitors check open slots right on your WordPress site.
Follow these steps to display a Google Calendar on your website.
Not a fan of reading? No worries! we’ve got a video tutorial for you.
Not a video person? No worries! scroll on for the full step-by-step guide.
Step 1: Get Your Google Calendar Link
- Open Google Calendar.
- Click on ‘Create New’ > select ‘Appointment Schedule’
- Set up your ‘ BOOKABLE APPOINTMENT SCHEDULE’ with name, appointment duration, General availability, Scheduling Window and other available settings > Save the Changes.
- Copy the link of your booking calendar.
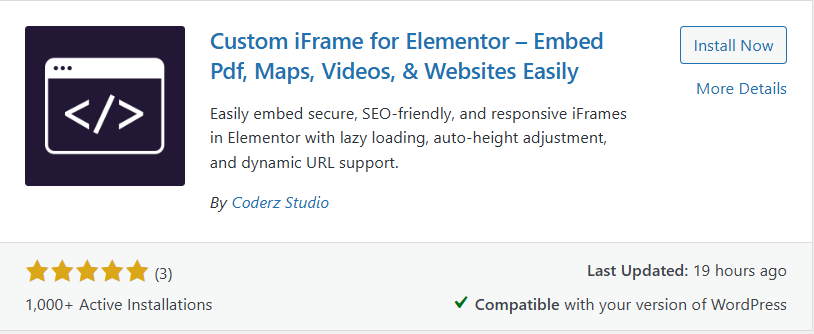
Step 2: Install the Custom iFrame Plugin
- Install and Activate ‘Custom iFrame Plugin by Coderz Studio‘
- Open your page in Elementor Editor.
- Search for Custom iFrame and Drag and drop the Widget onto editor area.
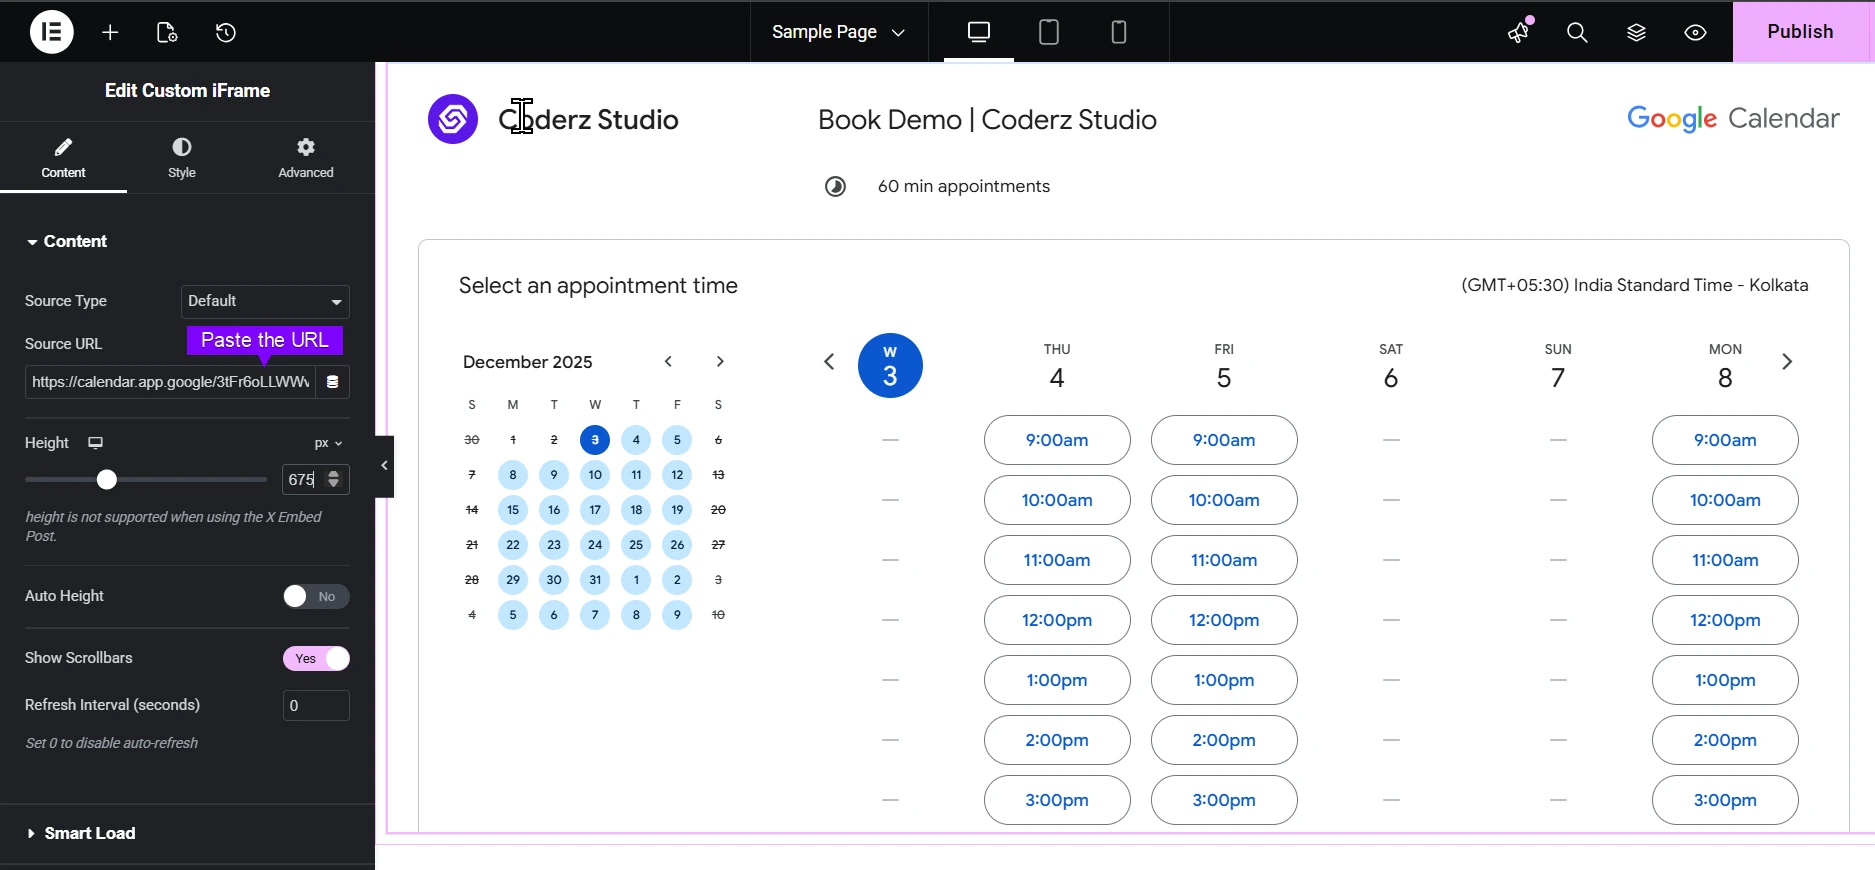
Step 3: Embed Google Calendar in Elementor
- Go to Content section of Custom iFrame widget.
- Paste your Google Calendar URL into Source URL field.
Step 4: Customize & Configure Settings
For styling, smart loading, and advanced options, refer to our Complete Custom iFrame Widget Guide to fine-tune your map embed.
Step 5: Save & Publish
Click Update, and the Google Calendar is now live on your page!
Make booking simple, embed Google Calendar in Elementor and let your visitors see your schedule and plan appointments without any back-and-forth!