With Custom iFrame, you can embed Instagram Reels in WordPress and display live reel content directly on any page or post in your Gutenberg block editor.
Quick Summary
Step-by-step guide to embed Instagram Reels in WordPress
1. Copy the Instagram Reel link from Instagram.
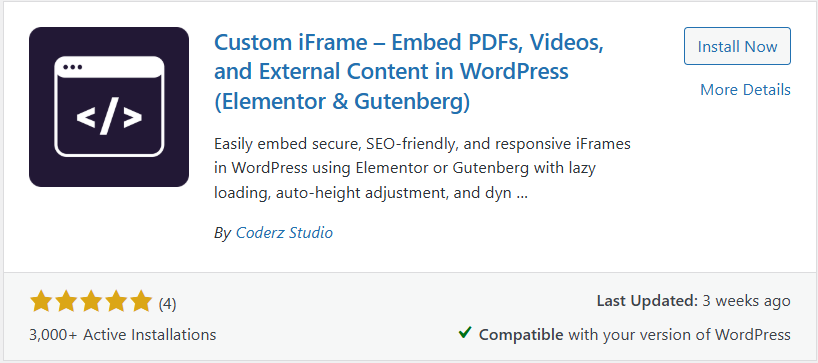
2. Install and activate the Custom iFrame plugin.
3. Open your page in the block editor and add the Custom iFrame block.
4. Paste the Instagram Reel URL into the Source field.
5. Adjust settings and customize the display.
6. Save and publish your page.
Step 1: Get the Instagram Reel Link
- Open Instagram at https://www.instagram.com/.
- Navigate to the Reel you want to embed.
- Click the Share icon on the Reel, then click Copy Link.
Step 2: Install the Custom iFrame Plugin and Add the Block
- Go to your WordPress dashboard.
- Navigate to Plugins, then Add New.
- Search for “Custom iFrame by Coderz Studio” and press enter.
- Click Install Now, then click Activate.
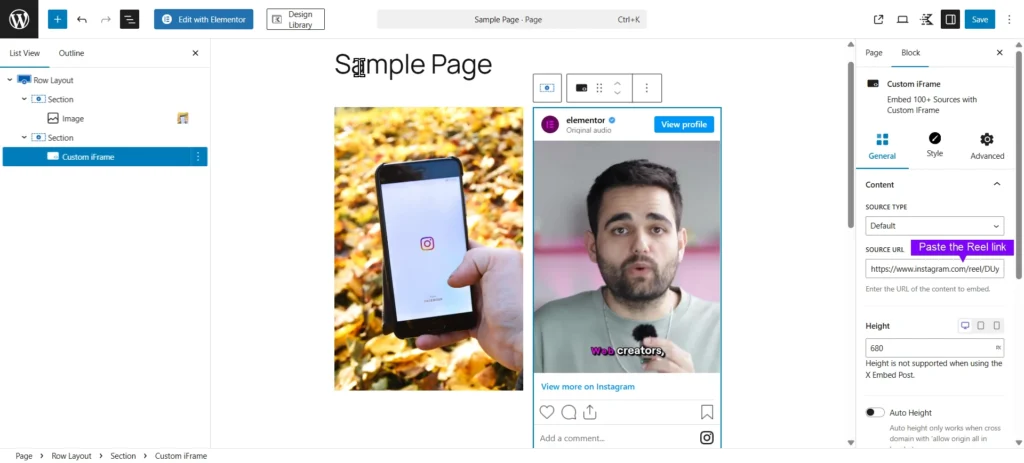
- Open your page in the Gutenberg block editor.
- Click the Add Block button and search for Custom iFrame.
- Click the Custom iFrame block to add it to the page.
Step 3: Embed the Instagram Reel in WordPress
- Select the Custom iFrame block.
- In the Source field, paste the Instagram Reel URL you copied earlier.
The Instagram Reel will load inside the iframe directly in the Gutenberg editor.
Step 4: Adjust Settings
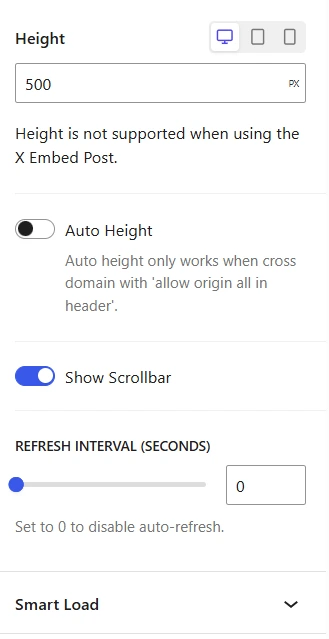
Once the Reel is embedded, you can configure the display settings in the Gutenberg block panel.
Height: Set the iframe height to suit the Reel and your page layout.
Scroll Bar: Enable or disable the scrollbar inside the embedded content.
Refresh Interval: Set how often the iframe refreshes. Useful if you update the Reel or want the latest engagement data to reload.
Smart Load: Enable lazy loading so the iframe loads only when it enters the viewport. This helps keep your page performance clean, especially if you have multiple embeds on one page.
Update or Publish the page. Your Instagram Reel is now live on your WordPress site.
Want to add a custom watermark, device frame, or full screen button? Check out the advanced options in our Complete Custom iFrame for Gutenberg Guide.
This guide showed you how to embed Instagram Reels in WordPress using the Custom iFrame plugin. From copying the Reel link to configuring the iframe and publishing, the whole setup runs through the Gutenberg block editor without any code.